A nyone using an iOS device, in years gone by, would have had the experience of using iTunes. In normal circumstances, exporting photographs to any iOS device was a cumbersome experience as it required iTunes or needed the use of a third party application, because transferring directly to the iPhone wasn’t distinctly possible. Thanks to the introduction of iCloud, and the additional features added to iOS 8/9, exporting photographs to any iOS device has become quite easy. The process is explained below:
Direct your web browser to https://www.icloud.com/ and use your existing App store credentials to log into your account.
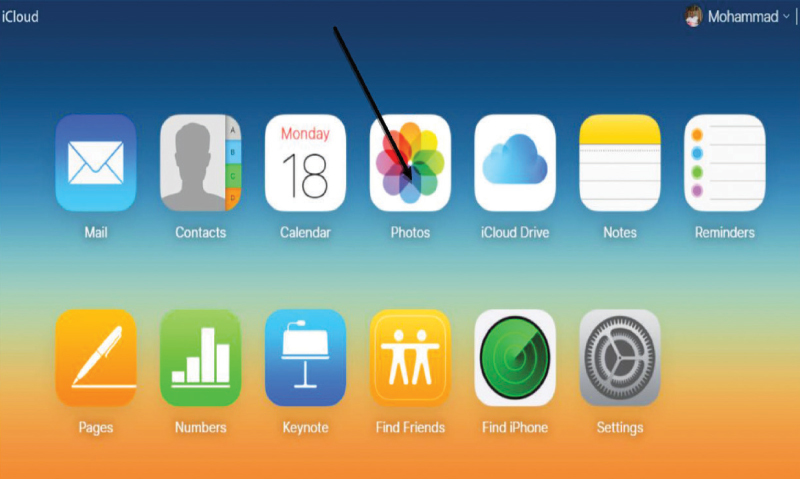
After successfully logging into your iCloud account, click on “Photos” as highlighted by the arrow below:

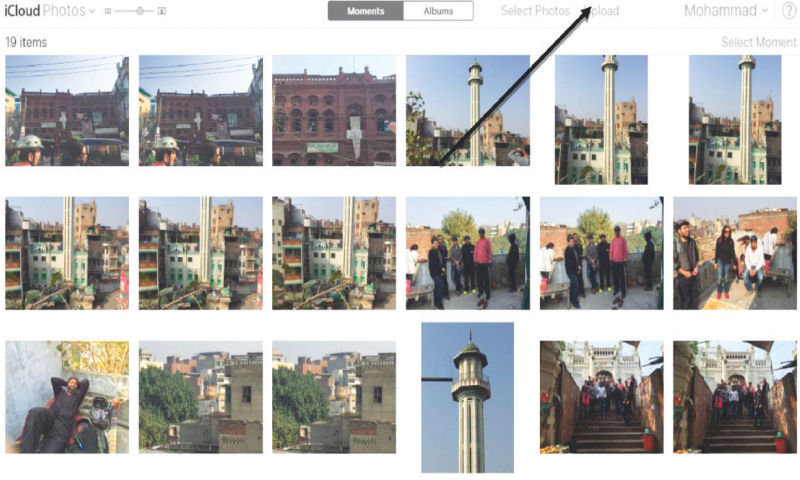
When you click on ‘Photos’, your library will open in front of you. Click on ‘Upload” in the right hand corner of the ‘Photos’ window as indicated by the arrow in the screenshot below:

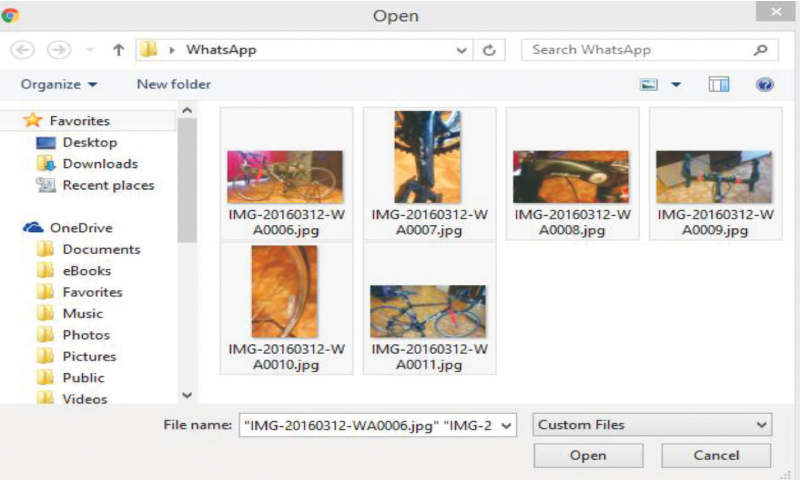
After clicking on ‘Upload’, you will be given a choice to select the folder or individual photographs for uploading as shown below. Keep in mind that only .jpeg format photos can be uploaded.

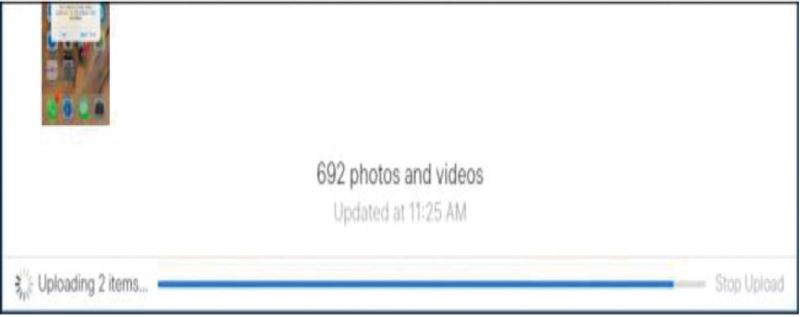
After selecting the folder or individual photographs, you will have to wait for the upload to complete as shown in screenshot below:

Once the photographs have been uploaded successfully, all of them will be automatically synced to any devices that are connected to your iCloud account. In order to view them, you just have to click on ‘Albums’ and then ‘All Photos’; there you will find the most recent photos in your camera.
The writer is a freelance columnist with diversified interests in technology, finance & history. He tweets @MohammadFarooq


